The procedure that follows is typical for the forming and brazing of ½" to 1¼" outlets using power operated equipment. Although there are specific steps to be followed, the tee-forming and brazing process takes little time and is quickly repeatable. Follow the manufacturer's operating instructions for all tube sizes.
Select and adjust the drill head and forming pins according to the manufacturer's instructions. The drill bit and pins are quite sharp, so caution is in order.
Insert the drill head into the chuck and extend the forming pins.
Lubricate the drill head and forming pins (Figure 13.3).
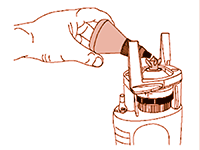
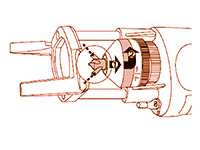
Press in the conical cover and rotate counterclockwise to retract the forming pins (Figure 13.4).
On tube sizes over 2", the area for forming the tee outlet must be annealed first. See manufacturer's instructions when dealing with these sizes.
Pull out the support legs and place the tube support firmly onto the point where the tee is to be formed on the tube. Then, twist the machine counterclockwise at the handle of the tool to center the drill head on the tube (Figure 13.5). The legs will center and support the drill while absorbing all rotational torque.
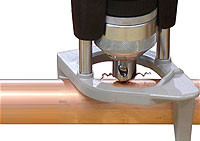 Figure 13.5. Positioning the drill tip and ensure a snug fit of the support legs
Start the tool by squeezing the trigger and drill until the bit has fully penetrated into the tube. Then, release the trigger to stop the drill.
Extend the forming pins on the drill head by pressing the cover toward the tool and rotating it counterclockwise until the head locks in the tee-forming position (Figure 13.6). Do not extend the forming pins while the motor is running.
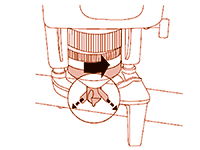
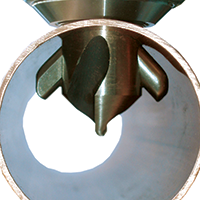
Turn the speed selector control to the slowest position (typical). Engage the feed mechanism. You may have to rotate the motor by giving a nudge on the trigger.
Squeeze the trigger to start forming the outlet and continue until the drill head is completely out of the tube. Maintain a slight downward pressure on the drill to ensure a firm contact with the tube (Figure 13.7). The rotation of the forming pins causes a back flow and thickening of the metal around the lower circumference of the outlet.It is important to release the drill trigger as soon as the drill head clears the rim of the outlet. NOTE: Removing the drill head from the tube before it emerges will result in an oval or imperfect outlet.
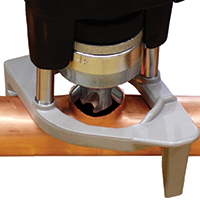 Figure 13.7. Forming the outlet
Ream and deburr the branch tube end (Figure 13.8).
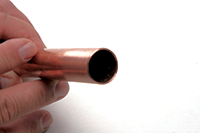 Figure 13.8. Reamed and deburred branch tube end
Choose the appropriate branch-size dye on the tube-end notcher to notch and dimple the sides of the branch tube end. Proper notching and dimpling must be performed to meet code requirements and to ensure the branch does not protrude into the tube (Figure 13.9 and 13.10).
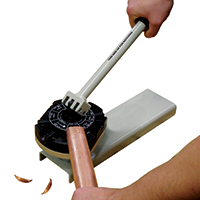 Figure 13.9. Using the notching and dimpling tool
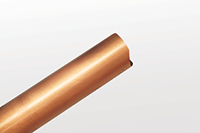 Figure 13.10. Properly prepared branch end tube
Remove any excess lubricant from inside the outlet and use Scotchbrite™ or sand cloth to clean the inside of the outlet rim.
Insert the branch tube into the outlet up to the first dimple and align the dimples with the run of the tube (Figure 13.11).
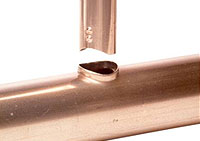 Figure 13.11. Aligning the dimples with the run of the tube
Braze the joint (Figure 13.12).
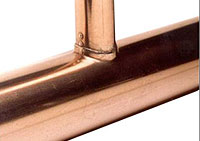 Figure 13.12. Finished joint